In Revit
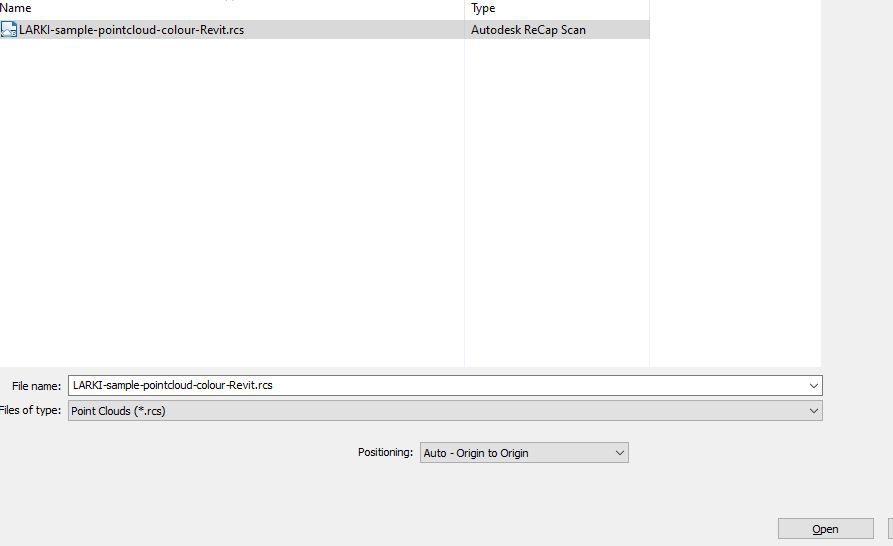
- Insert>Pointcloud

2. Choose an .rcs file at Origin to origin
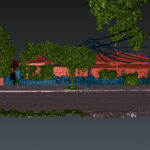
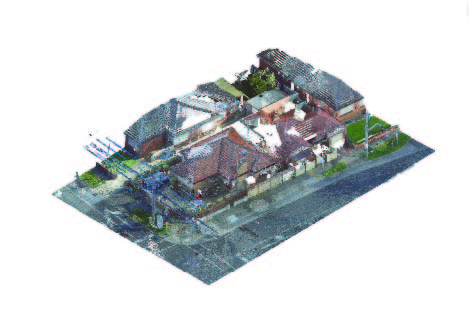
3. It should look like this:

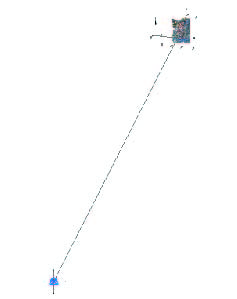
To confirm their alignment,
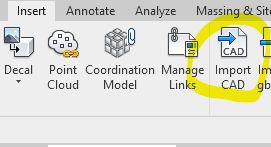
4. Insert 2d Title Re Establishment CAD drawing.
5. Keep them at Origin to Origin. The two files should be aligned

6. Well done. You’ve imported a pointcloud. 🙂
If you need to edit the point cloud (e.g. delete the points representing the parts that will be demolished) – this is a free point cloud editor that works on Macs: https://www.danielgm.net/cc/
Download CloudCompare from: